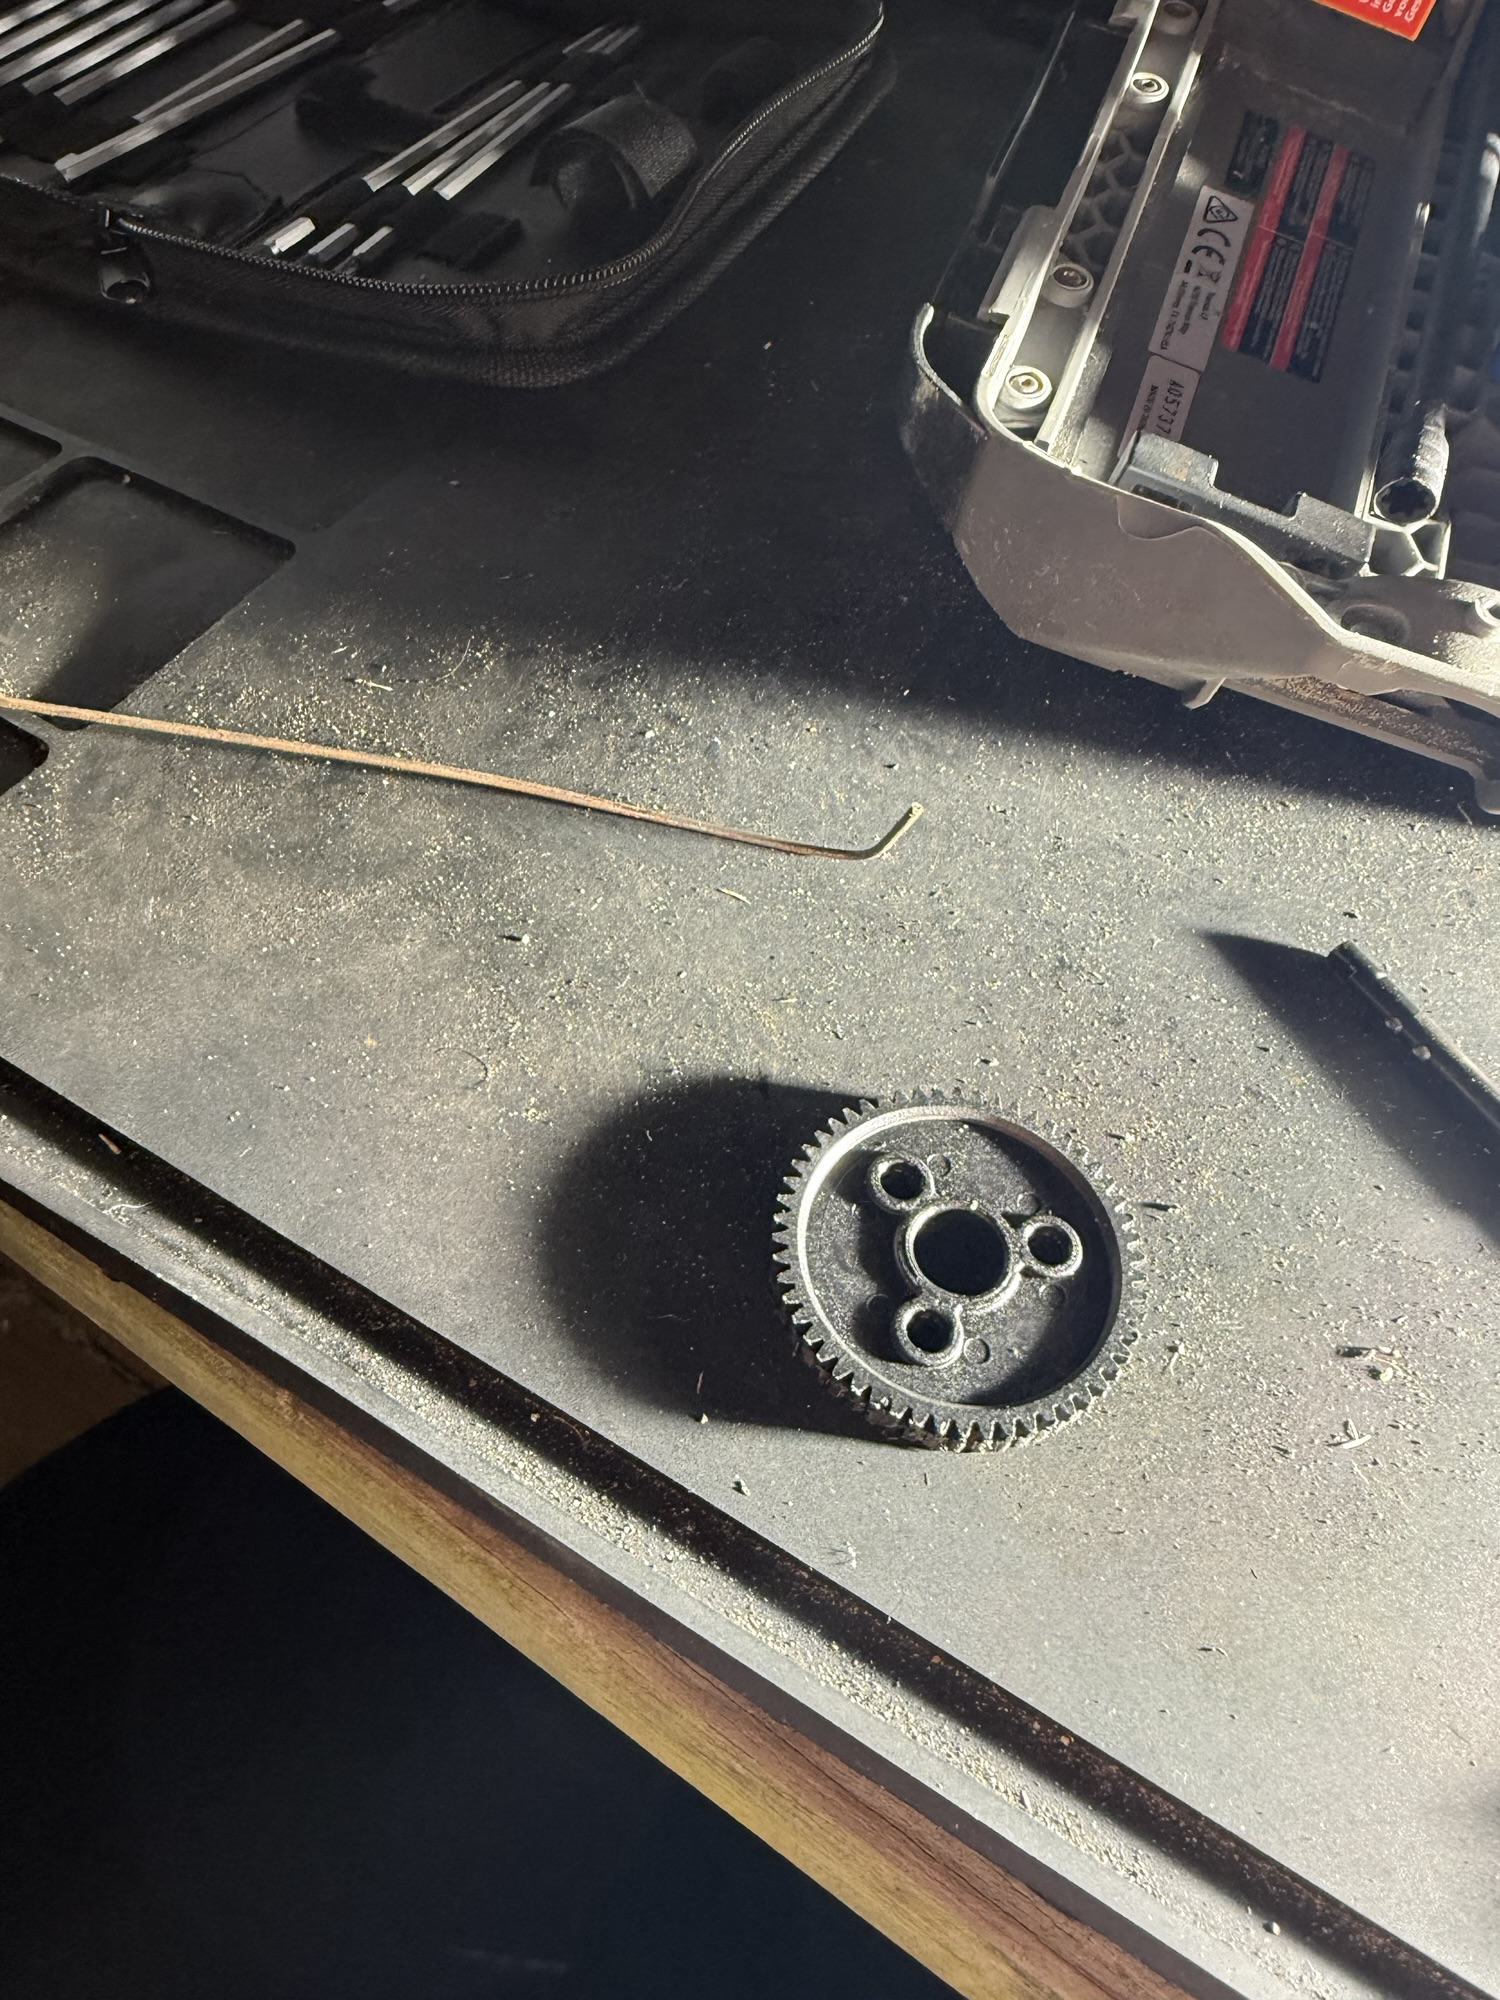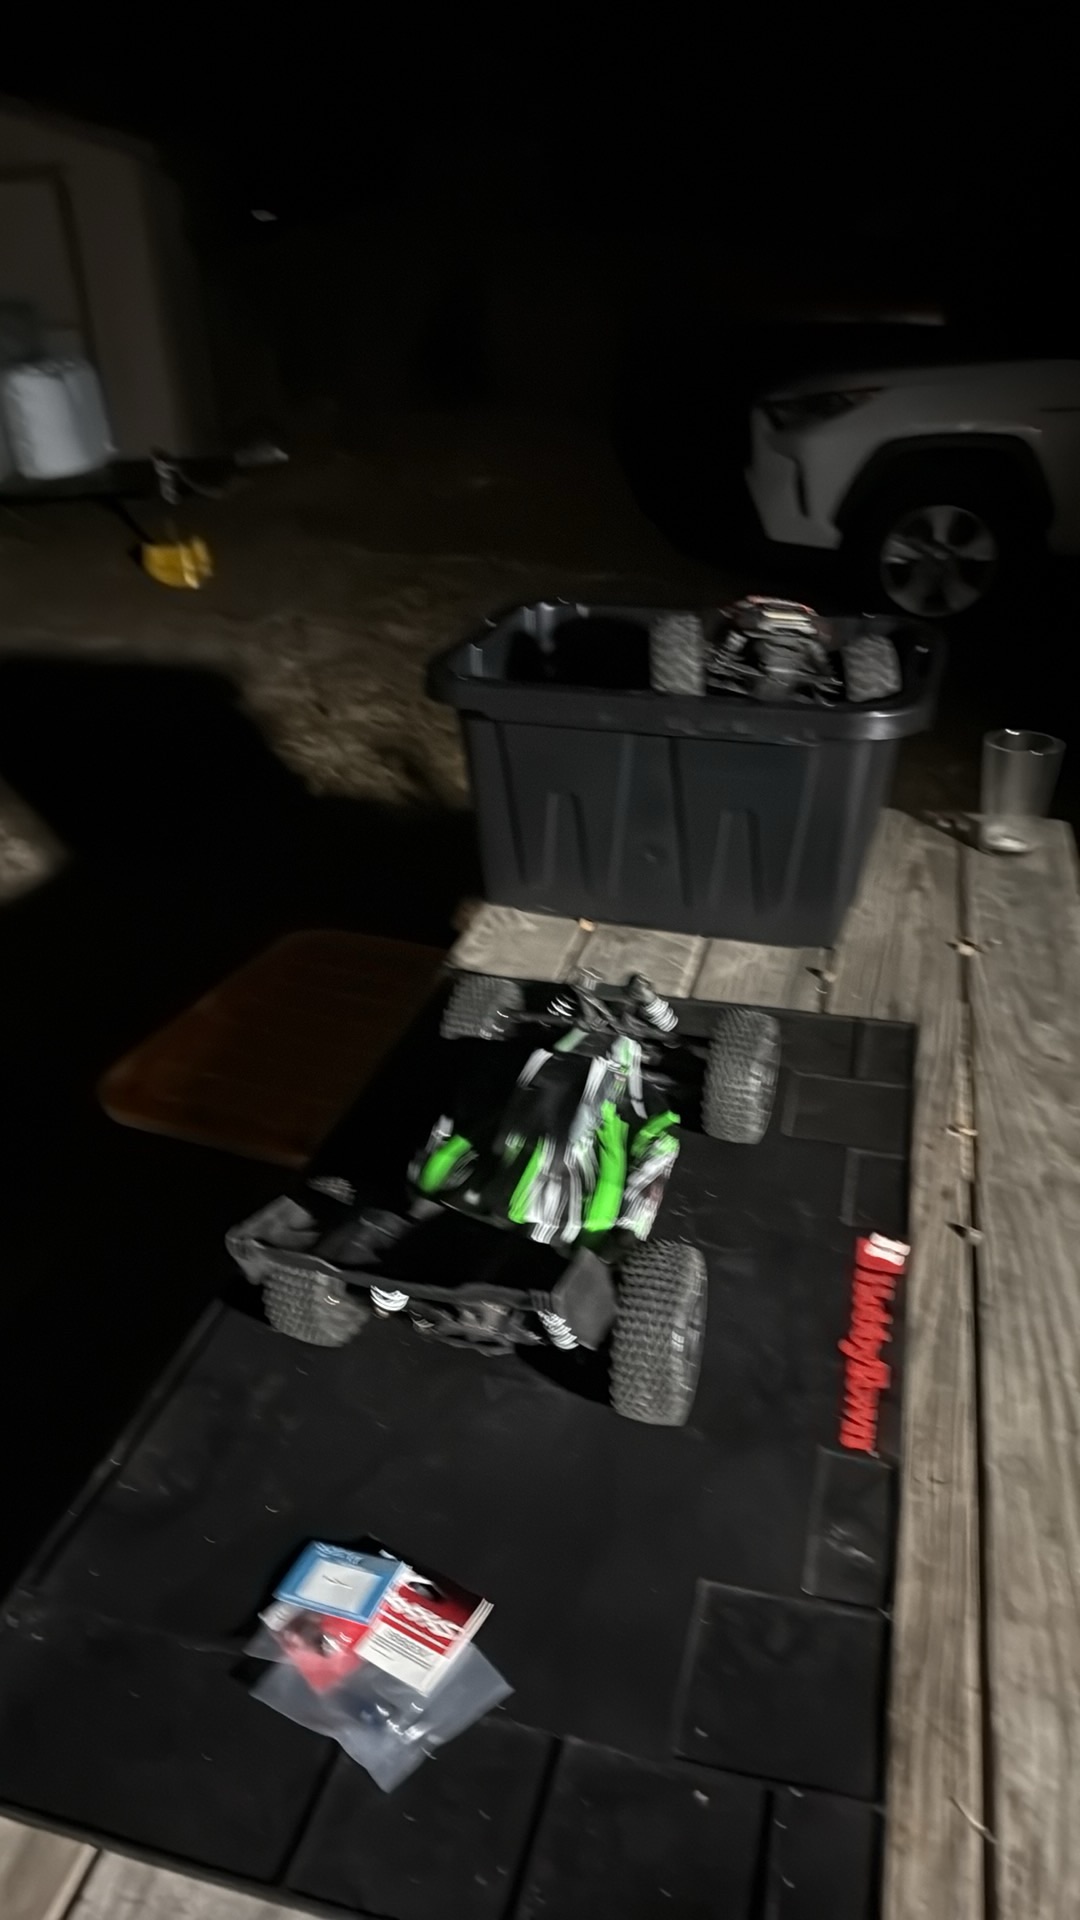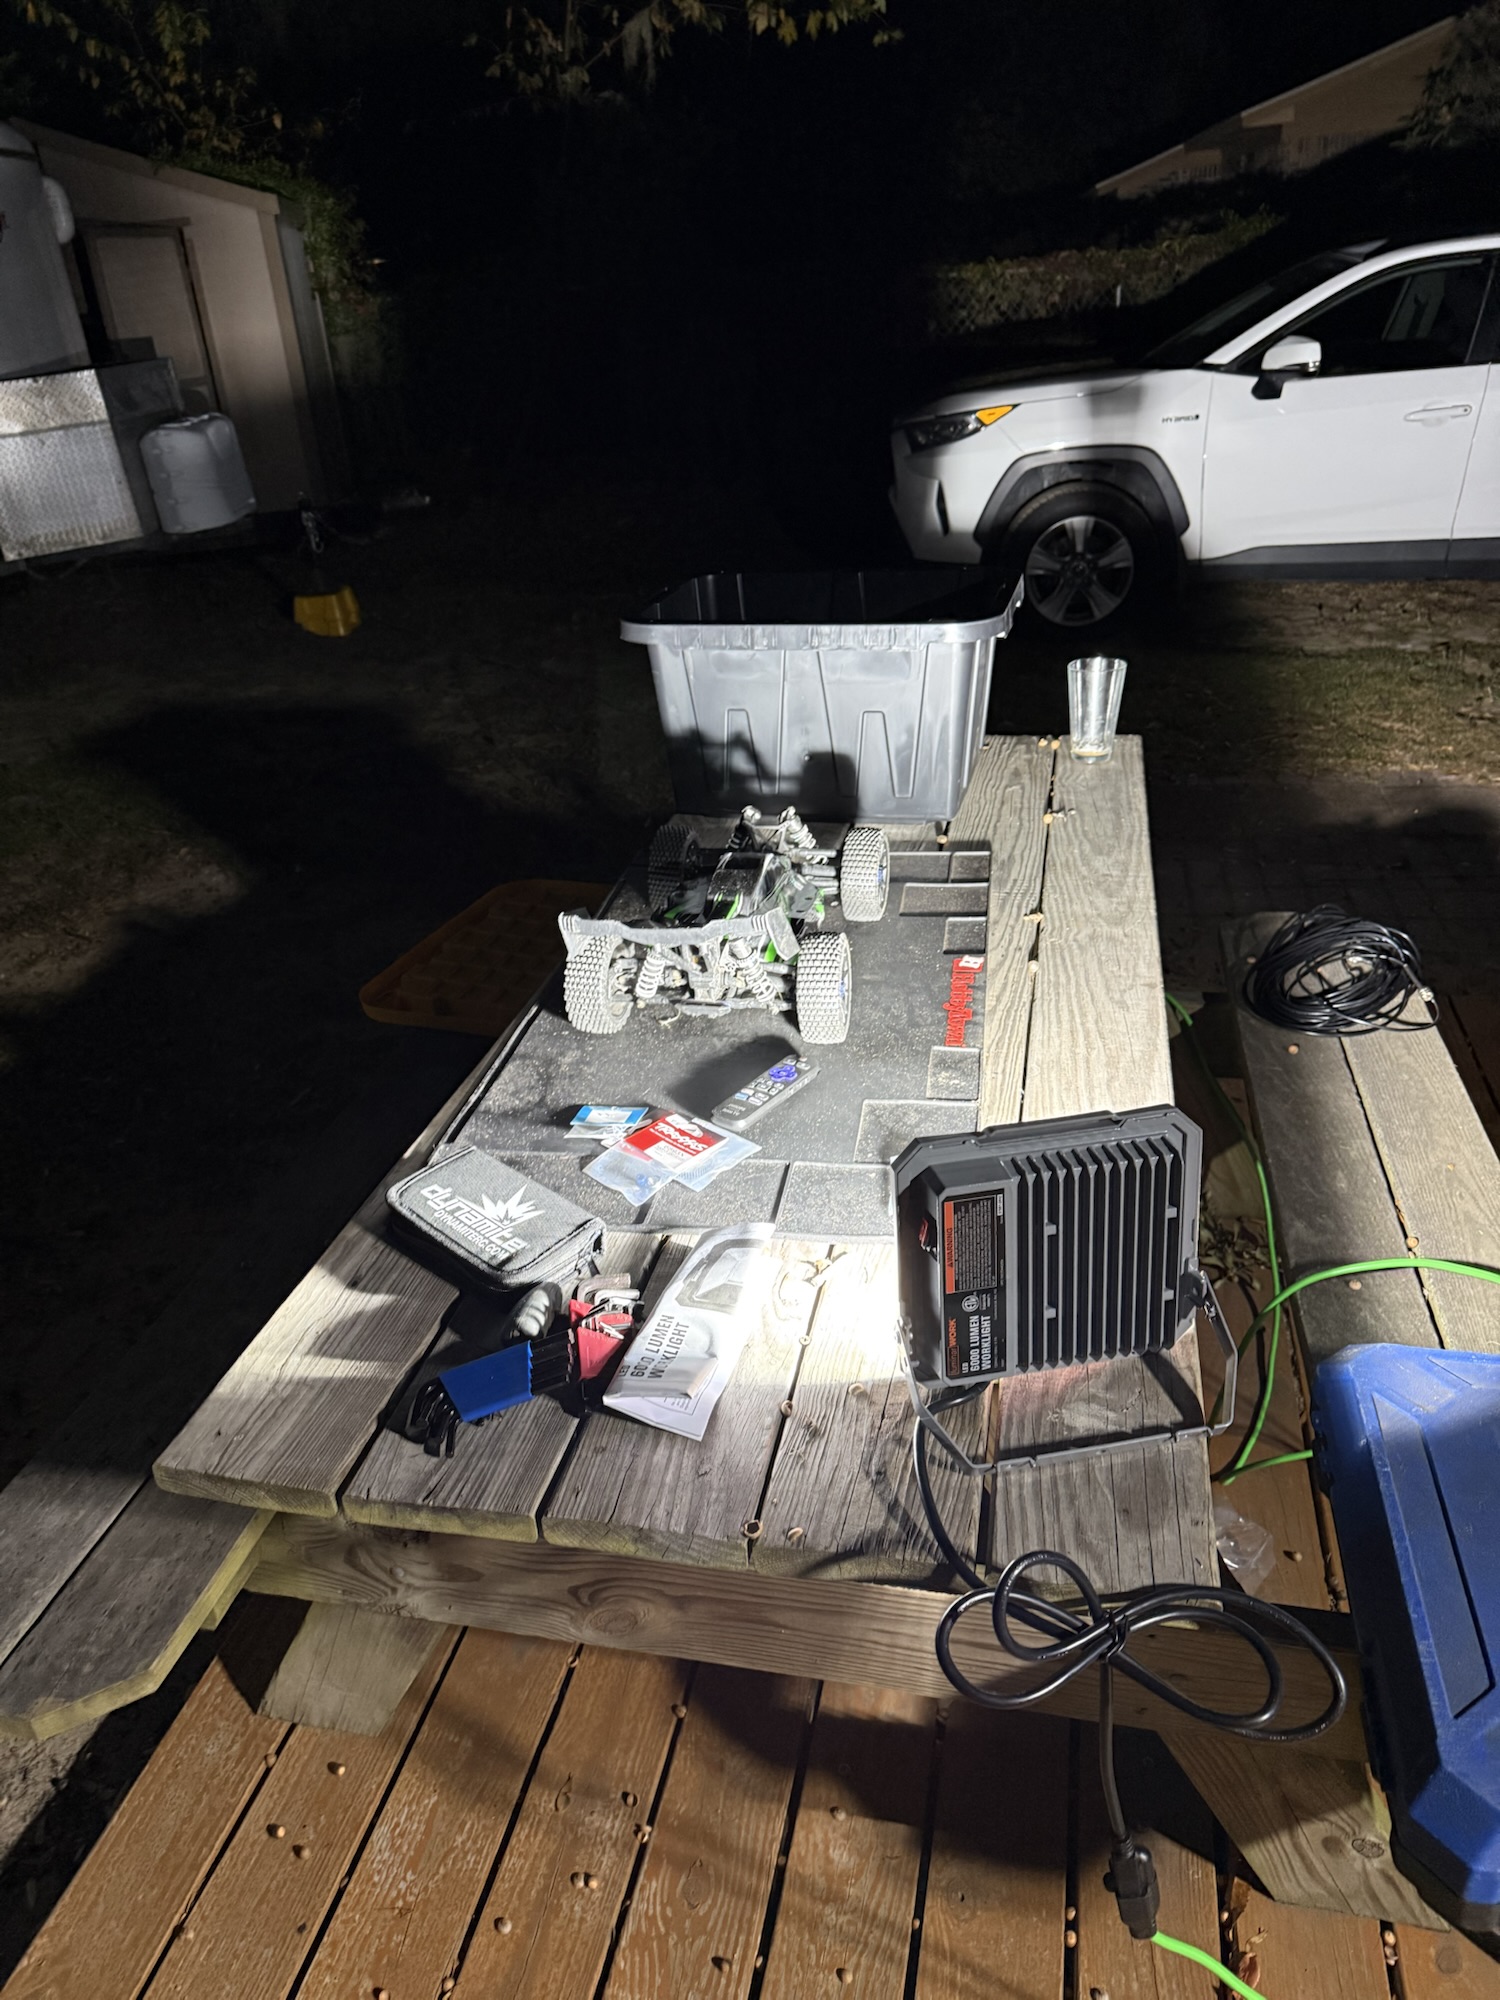
I want to start here by saying I wrote this blog mostly to remind me what I did to replace this spur gear in my Jato 4×4. A little bit of back story. I really enjoy my Jato 4×4 and have never had any issues with it stock. I decided to take it down to Hobby Town and have it upgraded from a 2S to a 3S. Once I got it home and ran it for about five minutes, it smoked the spur gear.
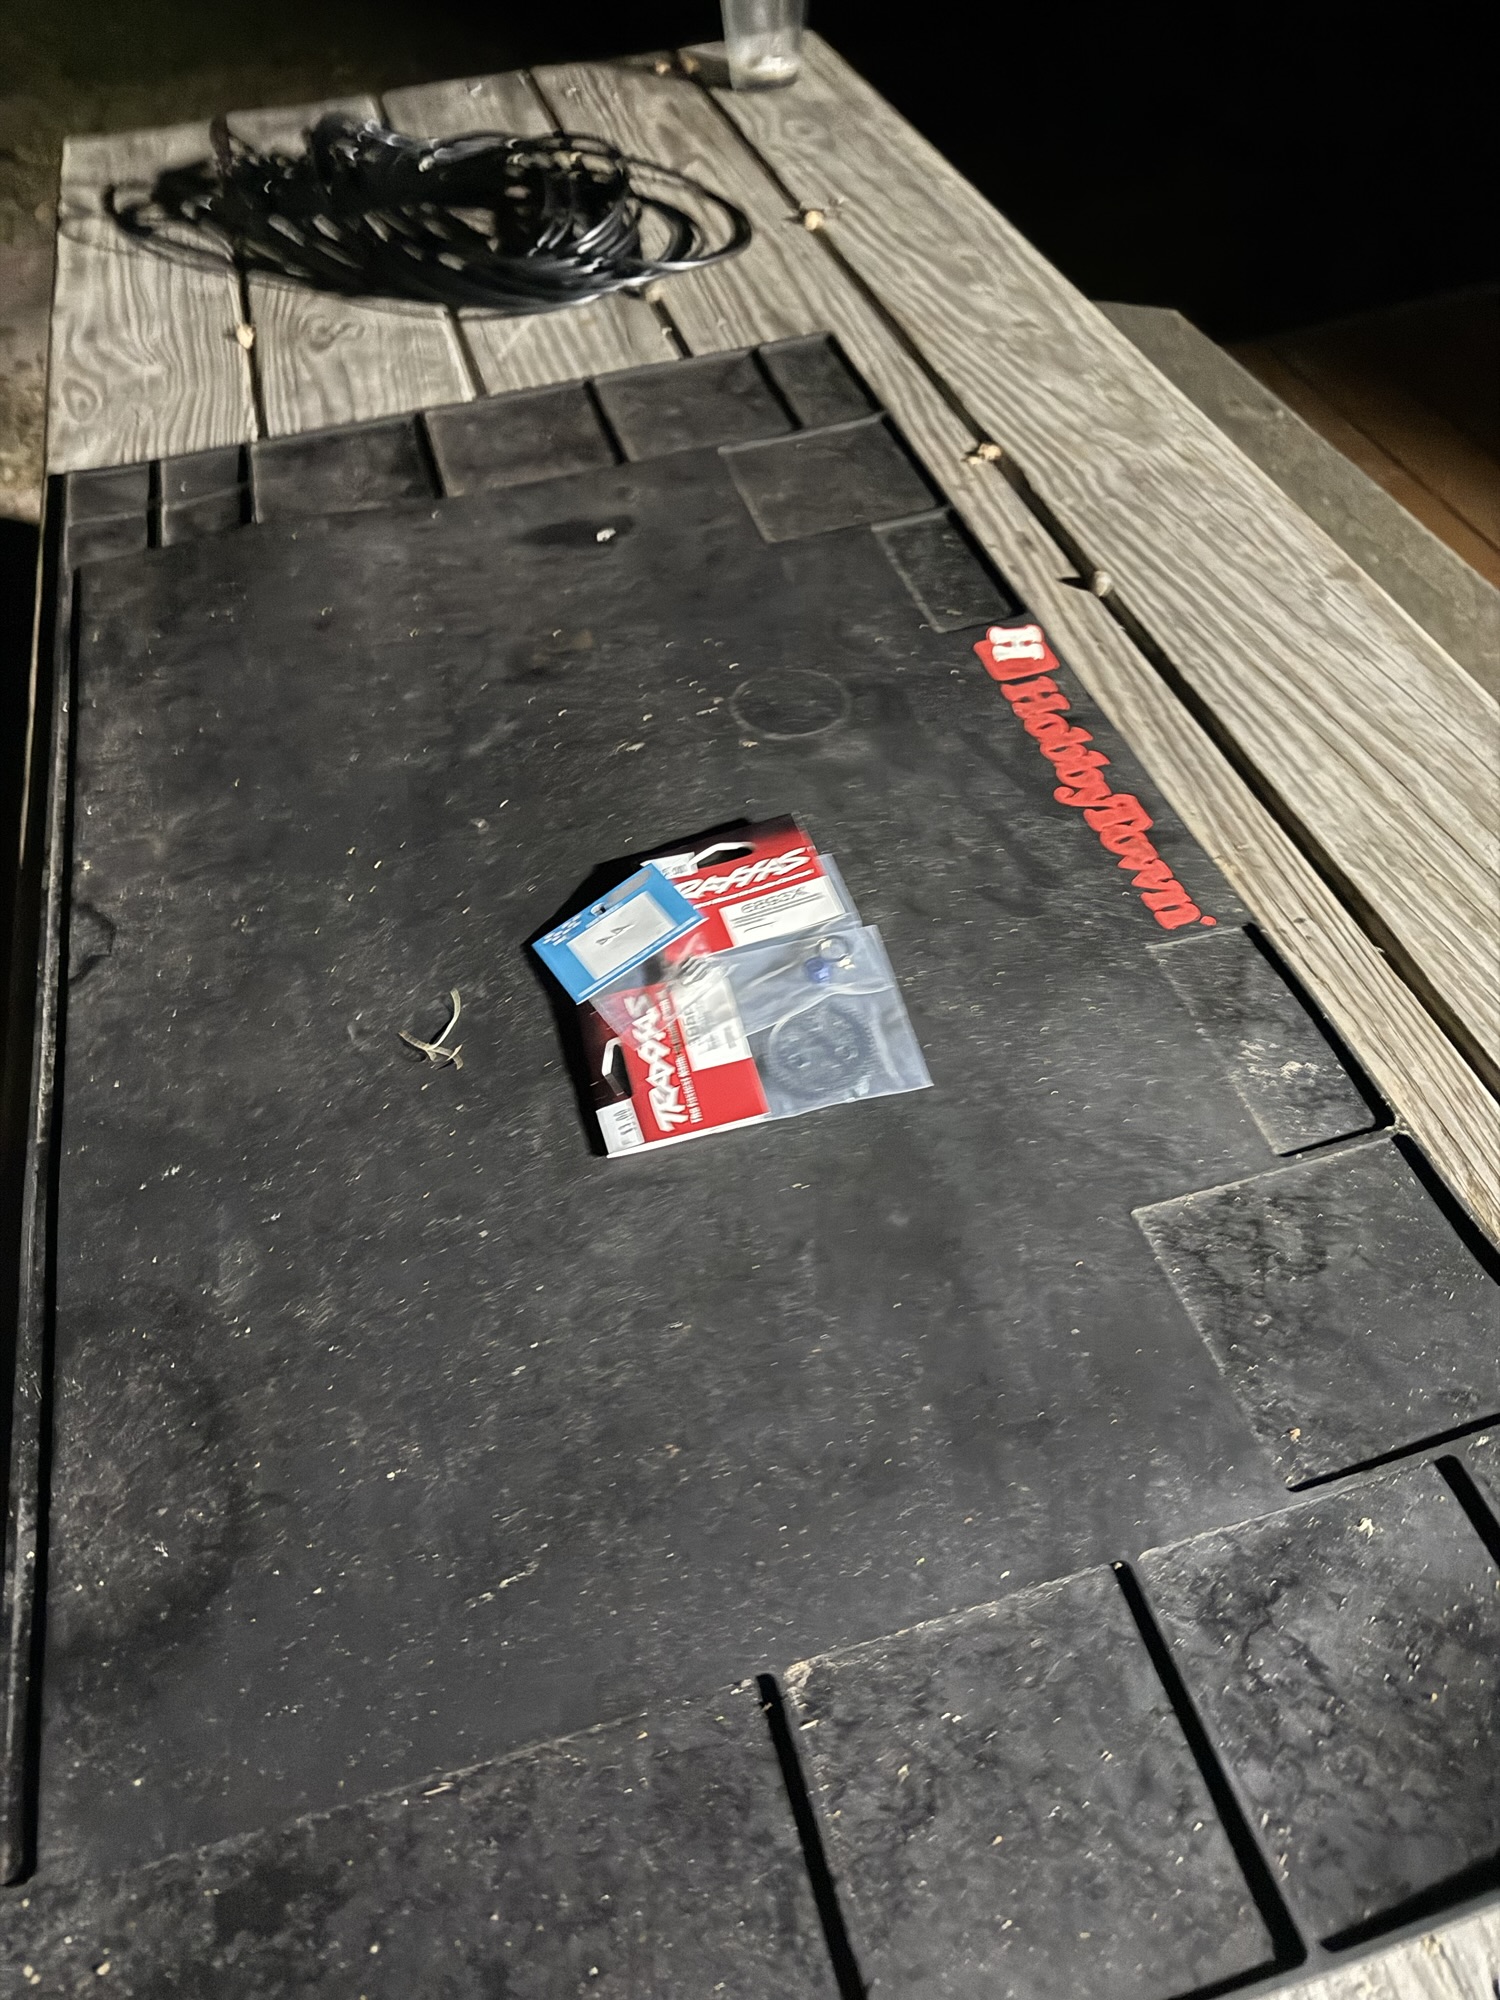
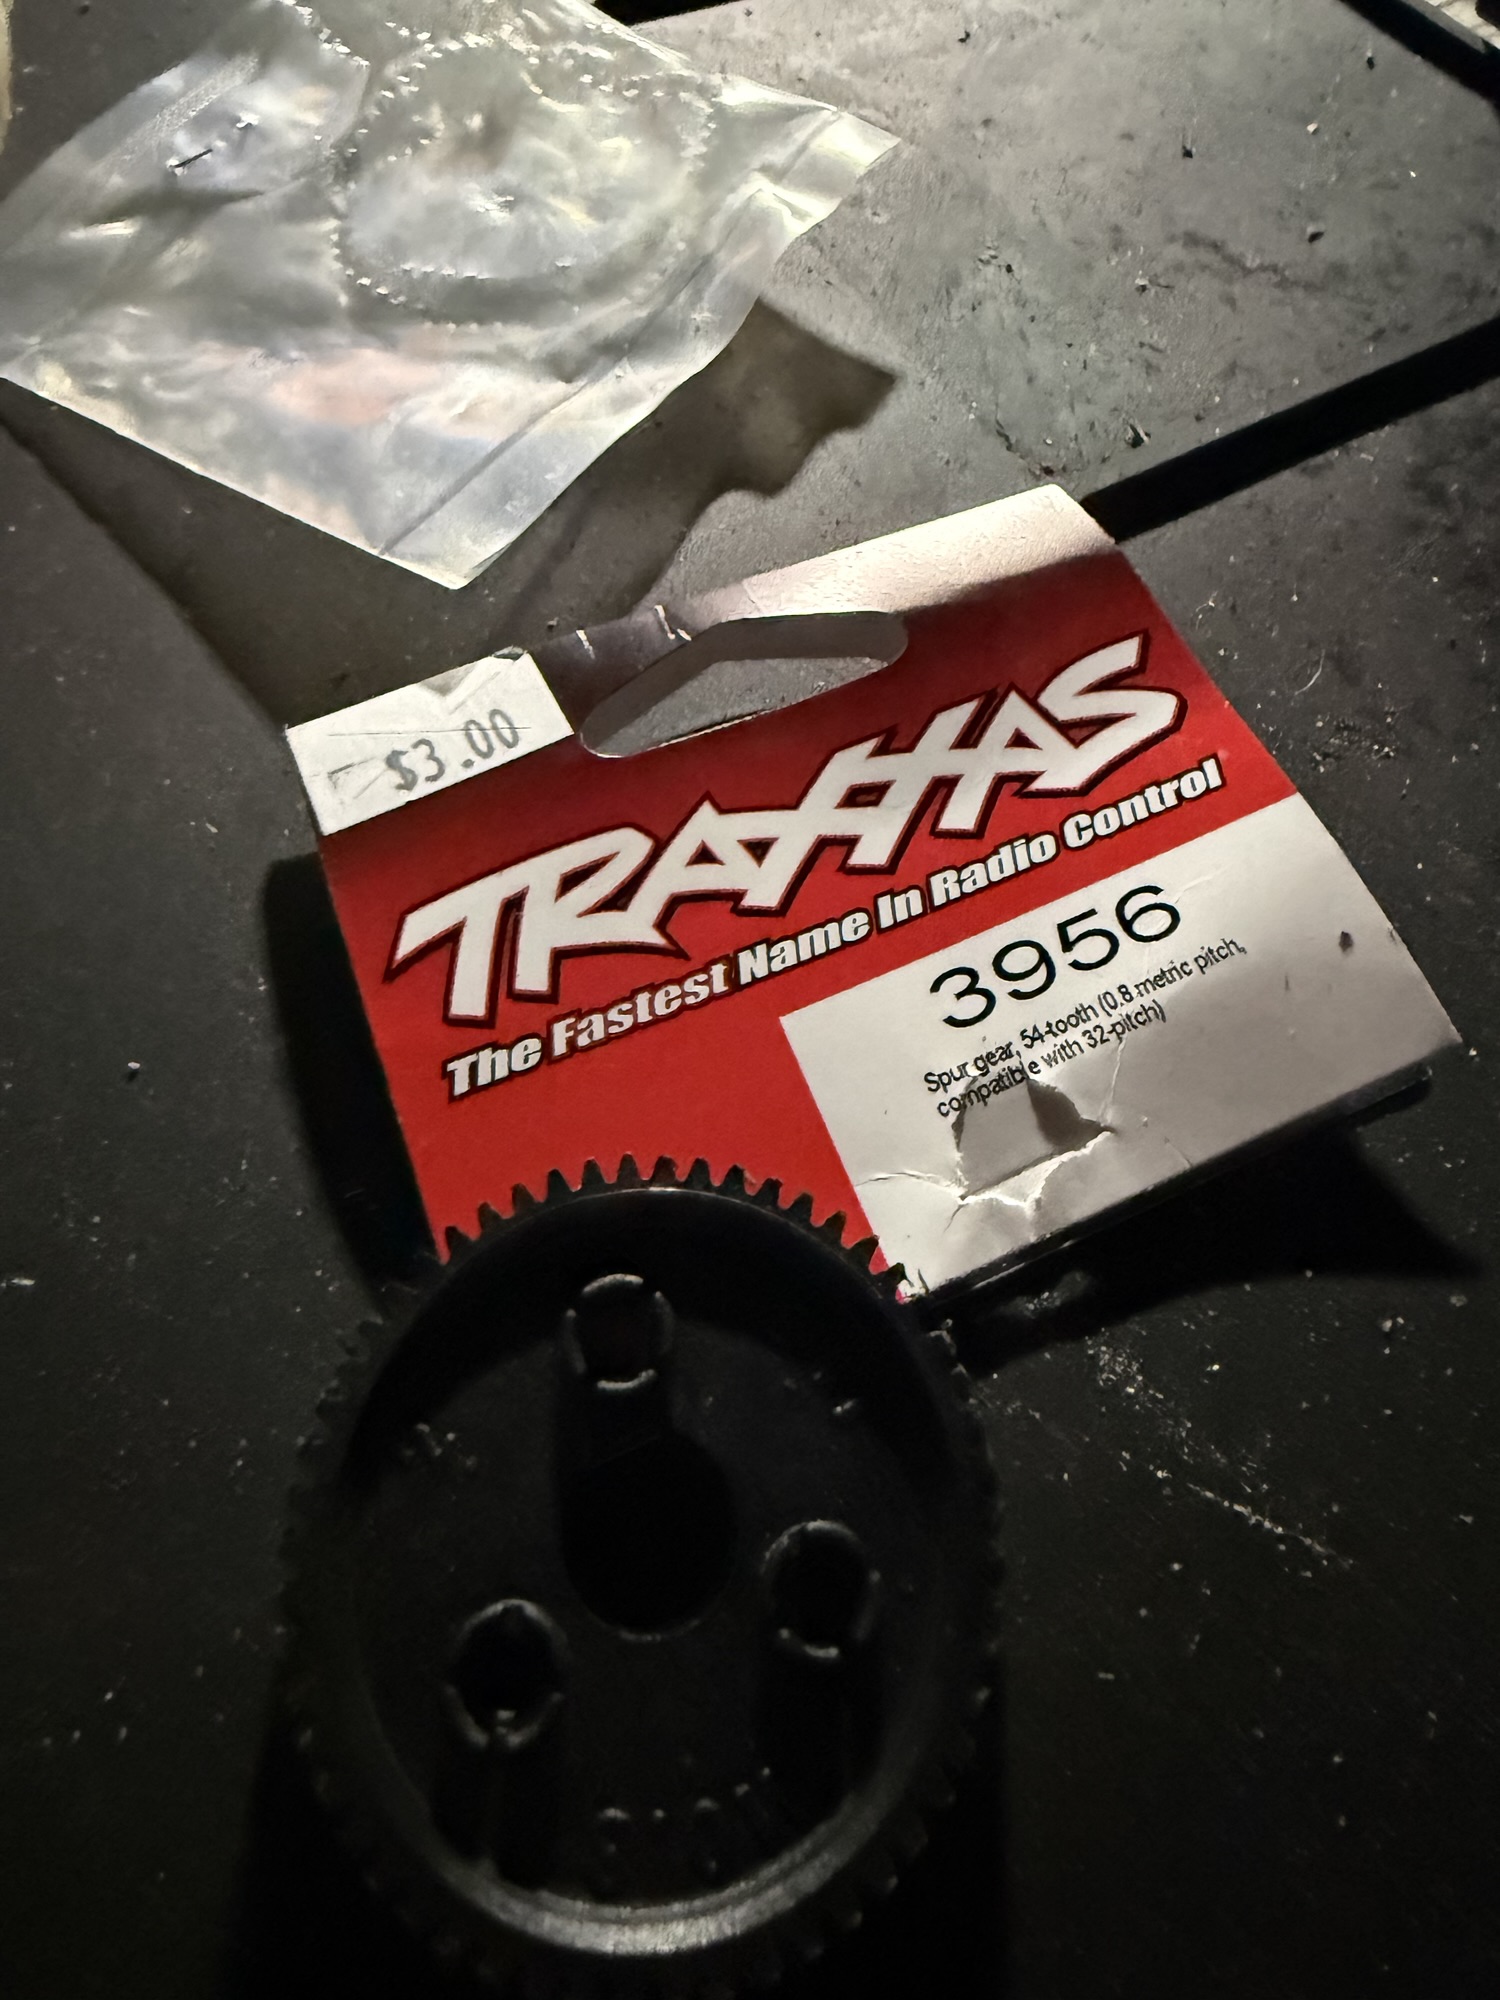
Fast forward a few months to when I had time to repair it. I stumbled upon an absolutely fantastic hobby shop in Savannah, GA. Anthony’s Hobby Shop. Anthony had exactly the part I needed to repair my Jato. Traxxas 54-tooth Spur Gear Part# 3956. Keep in mind, there is an upgraded metal version of this spur gear, but this was the one that was in stock, so I opted to roll with this one.
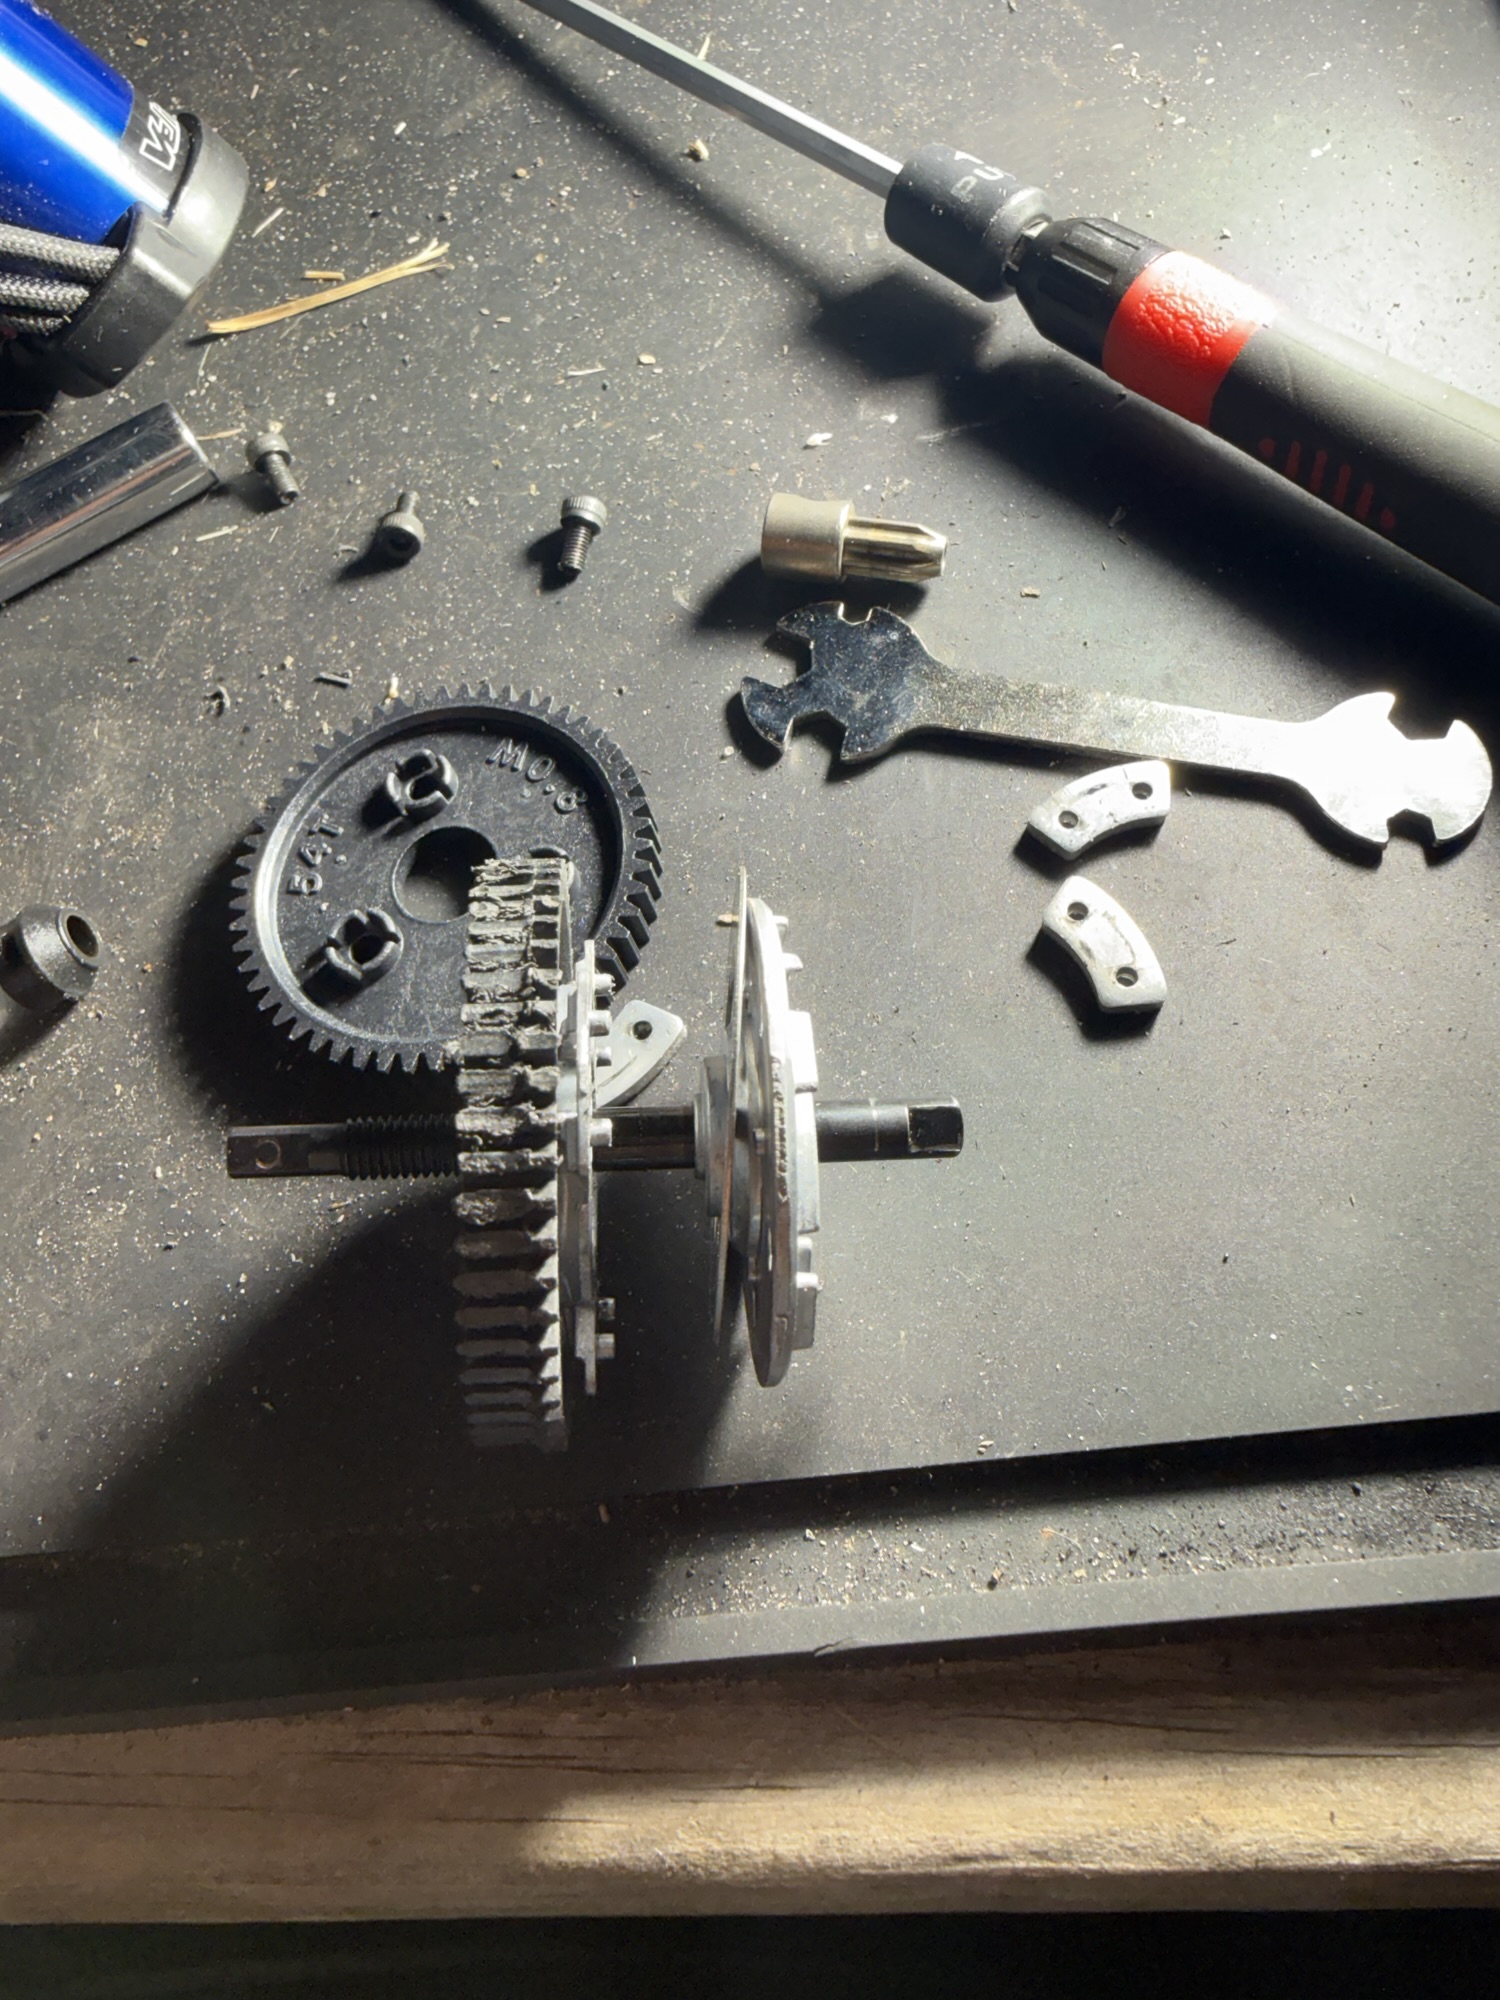
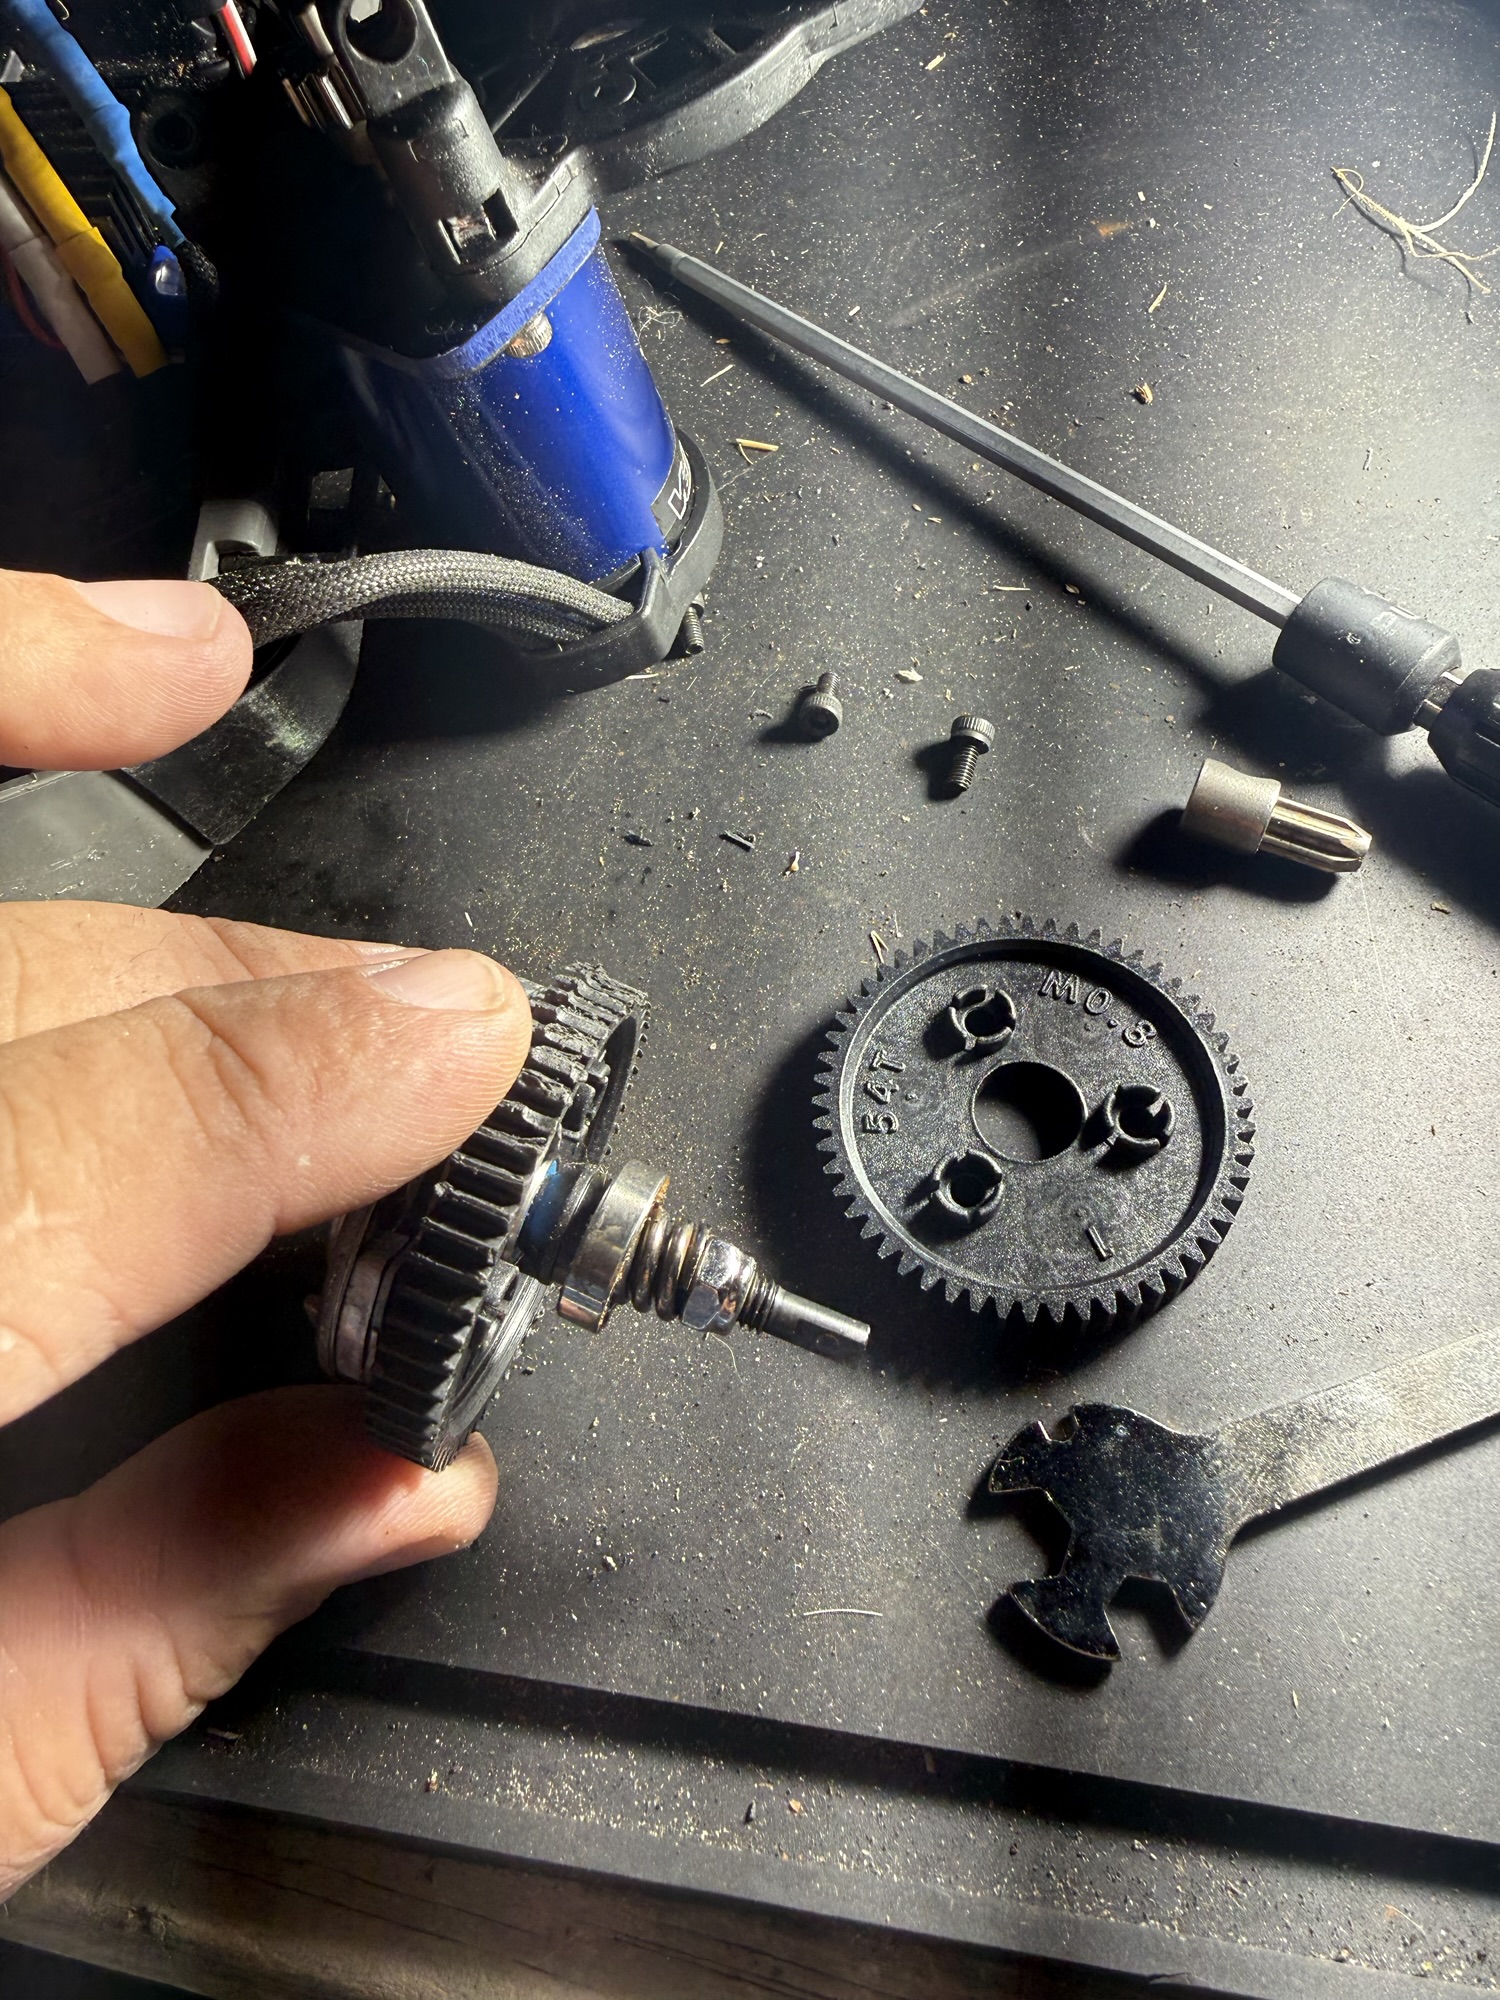
- I removed the top and bottom screws from the rear assembly and removed the rear end and axle of the car. The entire spur gear and slipper clutch assembly was exposed.
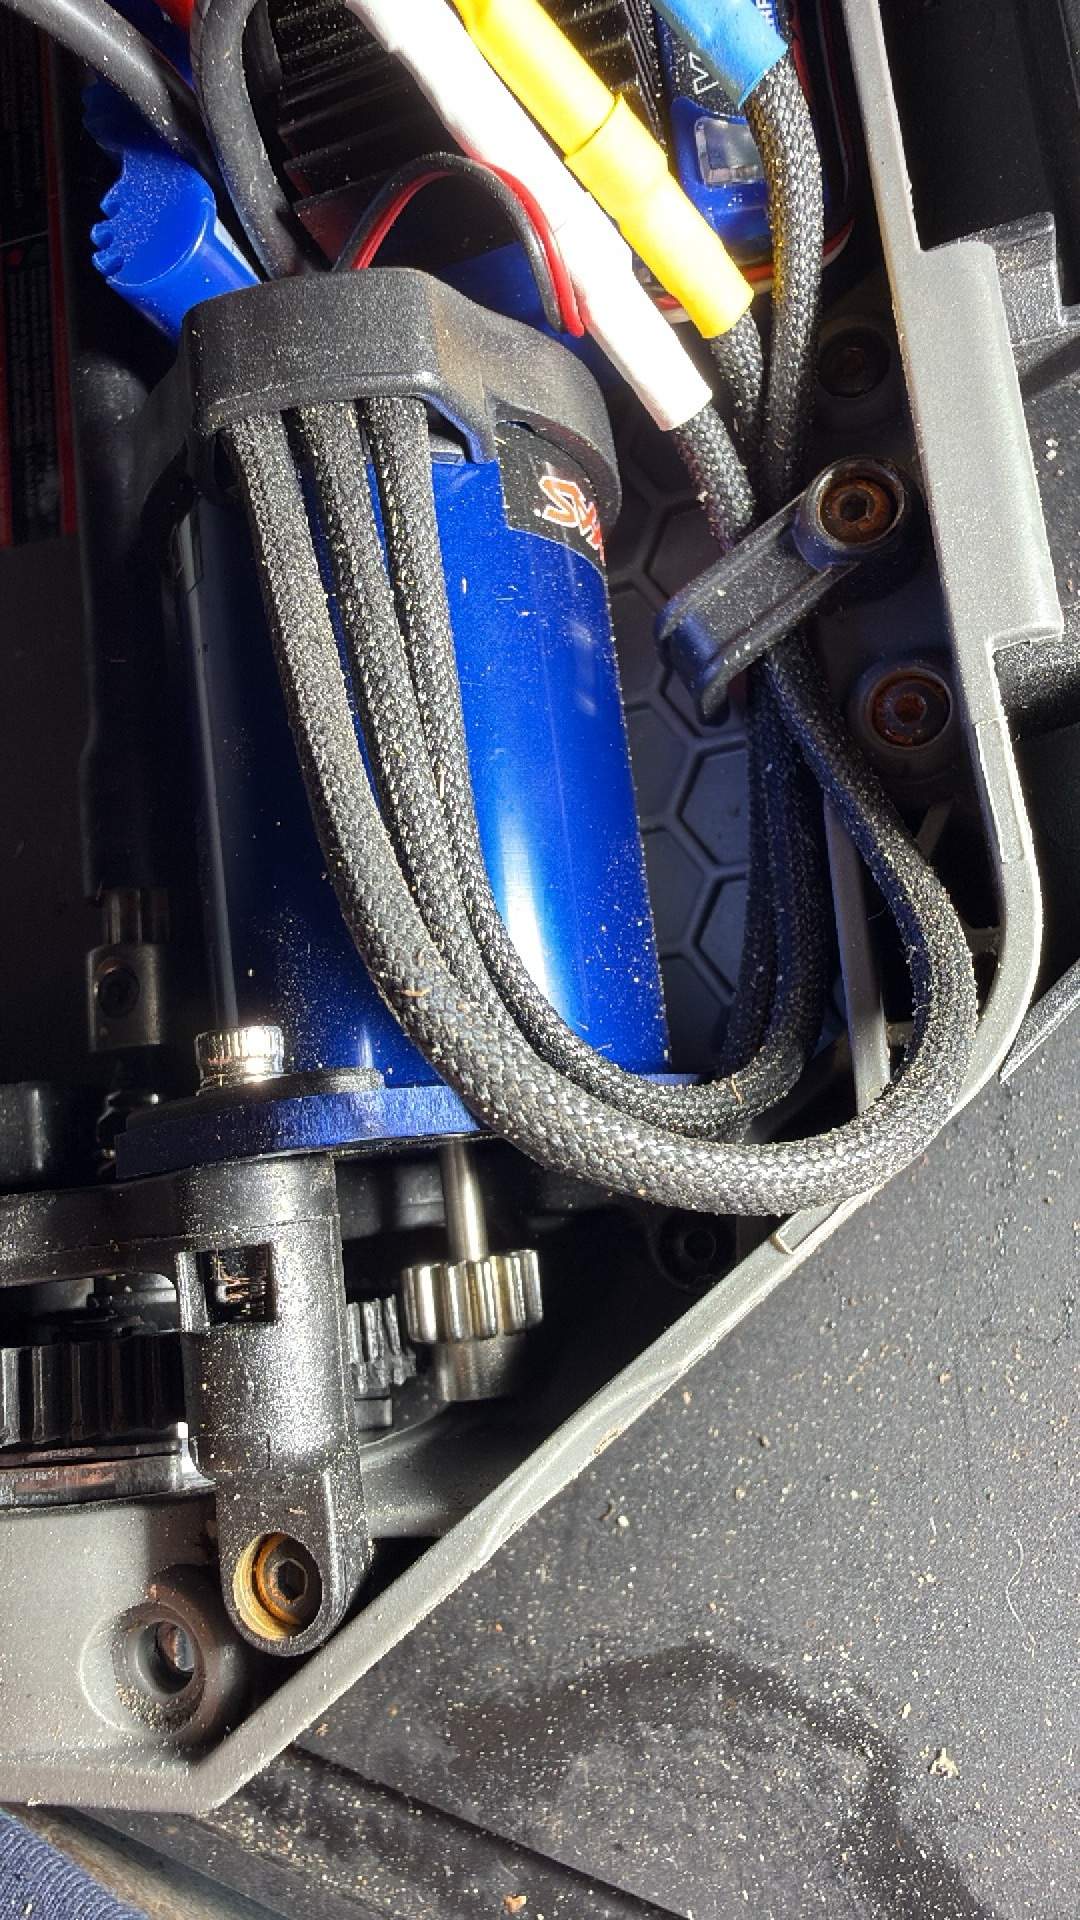
- I removed the front-to-rear drive axle cover.
- I loosened the set screw holding the rear spur gear and slipper clutch assembly to the drive axle.
- I used a socket to remove the lock nut holding the slipper clutch spring and bearings to the front side of the spur gear.
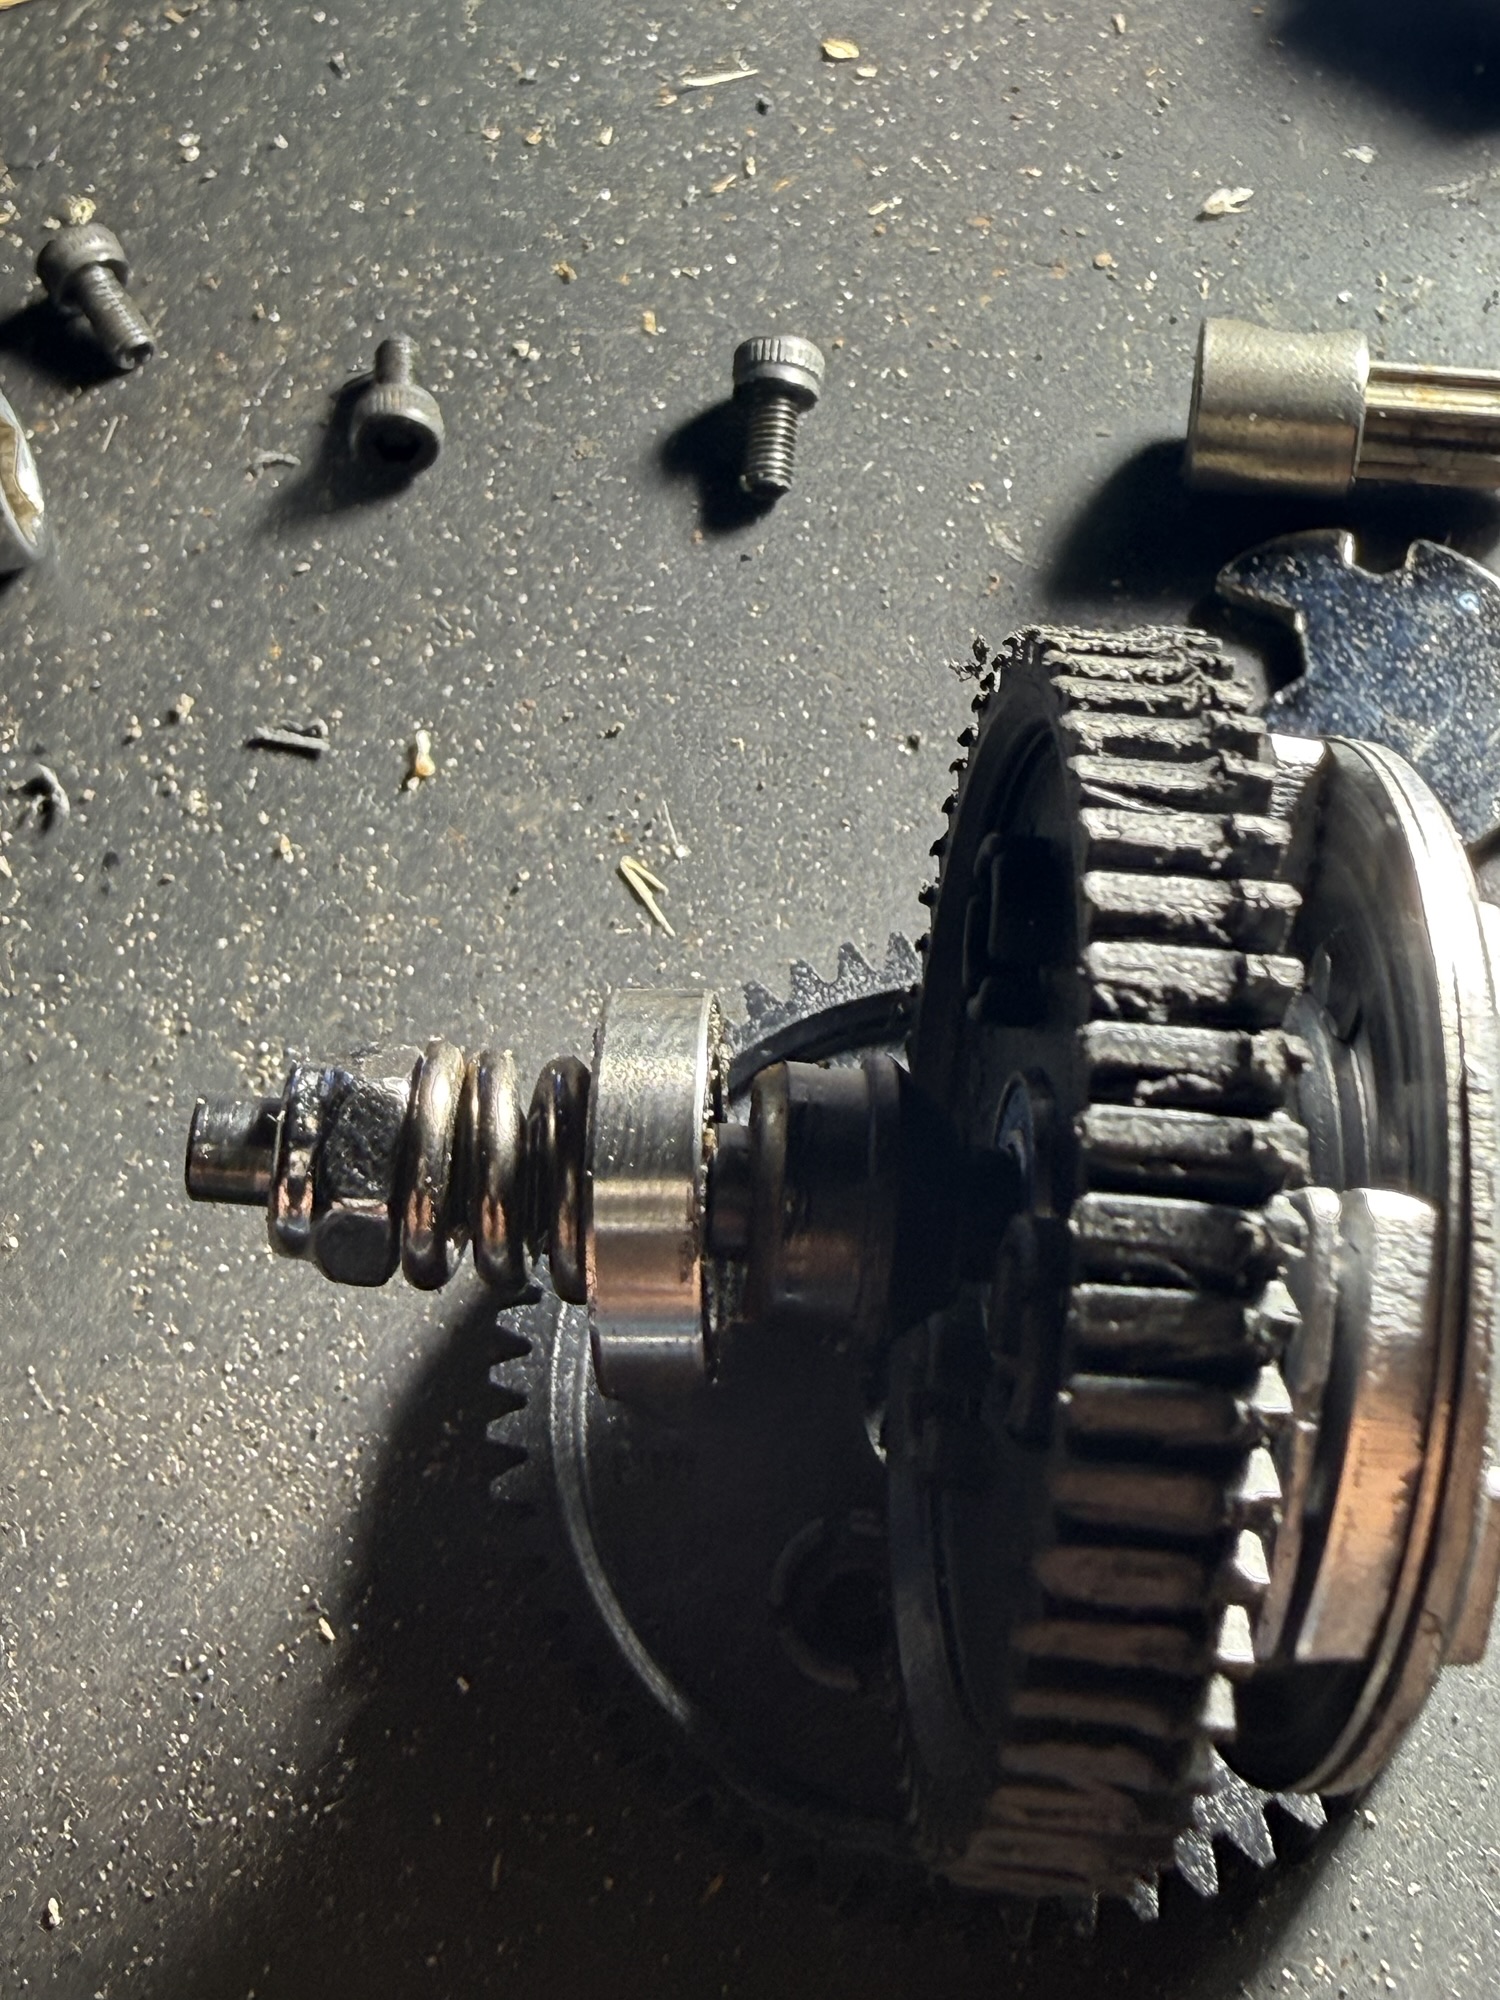
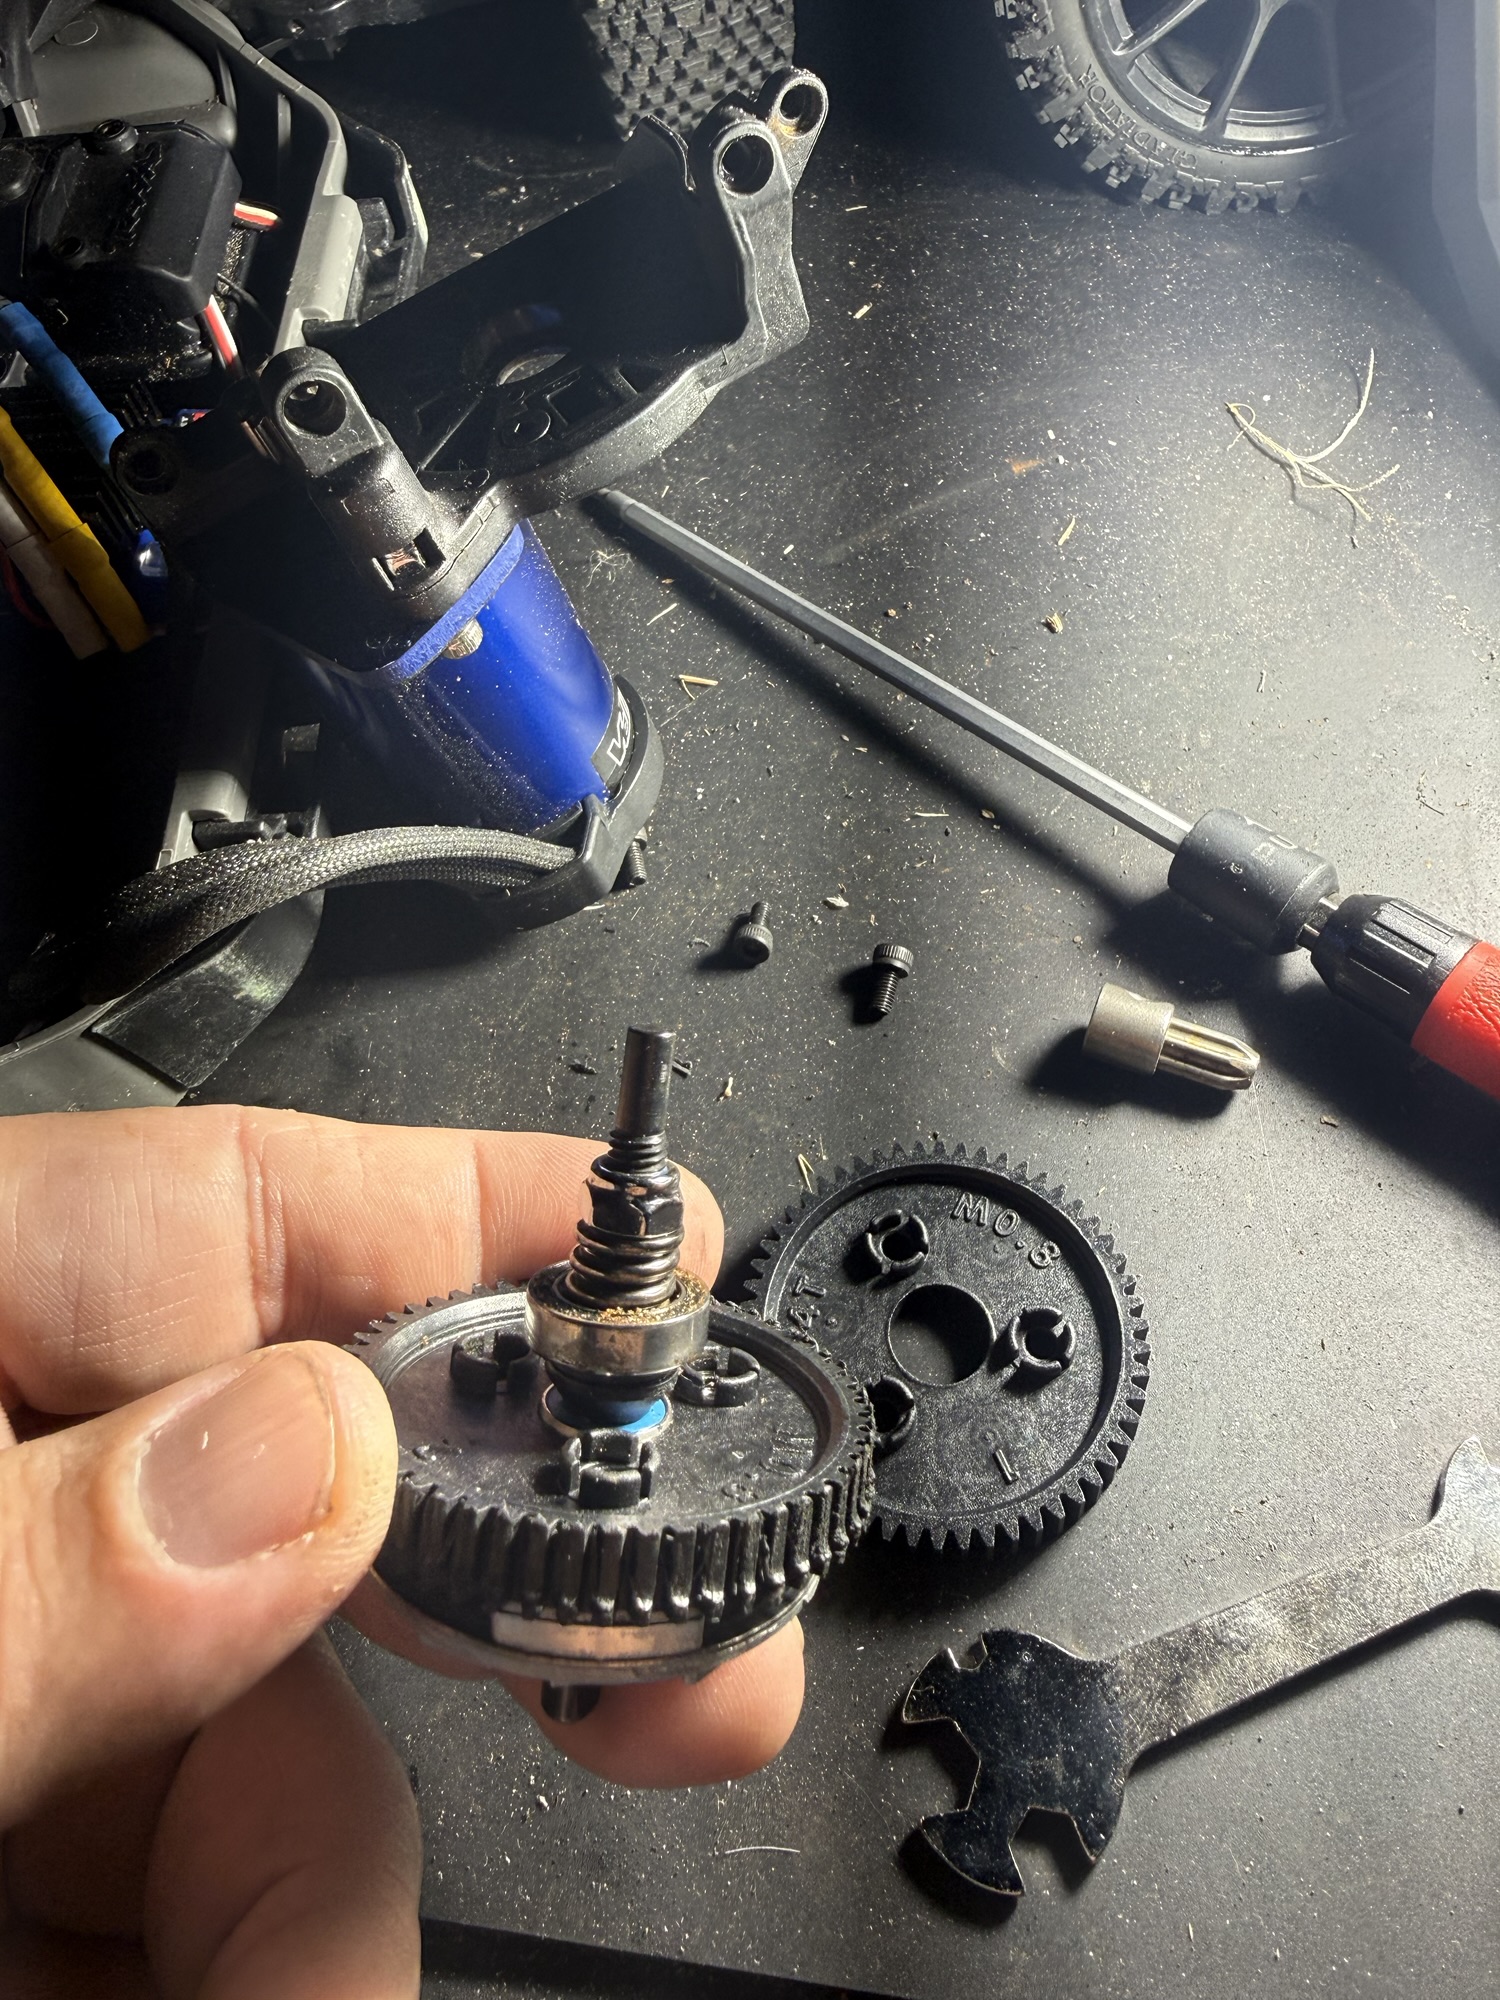
- I removed the three screws holding the spur gear to the slipper clutch assembly. (At this point, all of the small parts in the slipper clutch assembly fell apart. You will want to do this over a mat or something else, like a tray or small container, to make sure you don’t lose anything.
- I pulled everything apart, but TOOK PICTURES, EVERY STEP of the way, so I could remember as close as possible exactly how everything went back together.
- At this point, I replaced the spur gear and put everything back together in reverse order. At one point, I lost the pin that holds the back of the slipper clutch to the assembly. I was able to fabricate one pretty easily out of an old metal locator flag I had lying around.
- **I opted to leave my slipper clutch locknut a little looser after my rebuild as not to smoke the gear when the model is first accelerating. Read this article from Traxxas for more info. **
I was a little daunted at the idea of attempting this repair on my $400 RC car myself. If you’re in the same boat, I would tell you to go ahead and give it a shot. Just make sure you have the time to finish the project. I am not going to lie, it’s tedious putting everything back together, particularly the little clutch pads.
They like to fall off when you’re sliding the axle together, but if you have the time to calmly work on it, and a nice tray or mat to make sure you don’t lose the parts, you’ll be fine. Just don’t lose the parts. Worst-case scenario, you can take it to your local shop to put it back together.