After immersing myself as a licensed operator on 2-meter and 70-centimeter bands for several weeks, I eagerly delved into the world of digital modes. My interest was piqued by DMR and Dstar, especially upon discovering that our local ARES network utilizes DMR for the SCHEART repeater network. With great excitement, I decided that DMR would mark the beginning of my digital radio journey.

I learned that I would need a DMR ID in addition to my FCC call sign to operate on DMR networks. I went to radioid.net, uploaded a copy of my FCC license, and applied for my DMR ID. I was excited to receive it in my inbox later that afternoon.
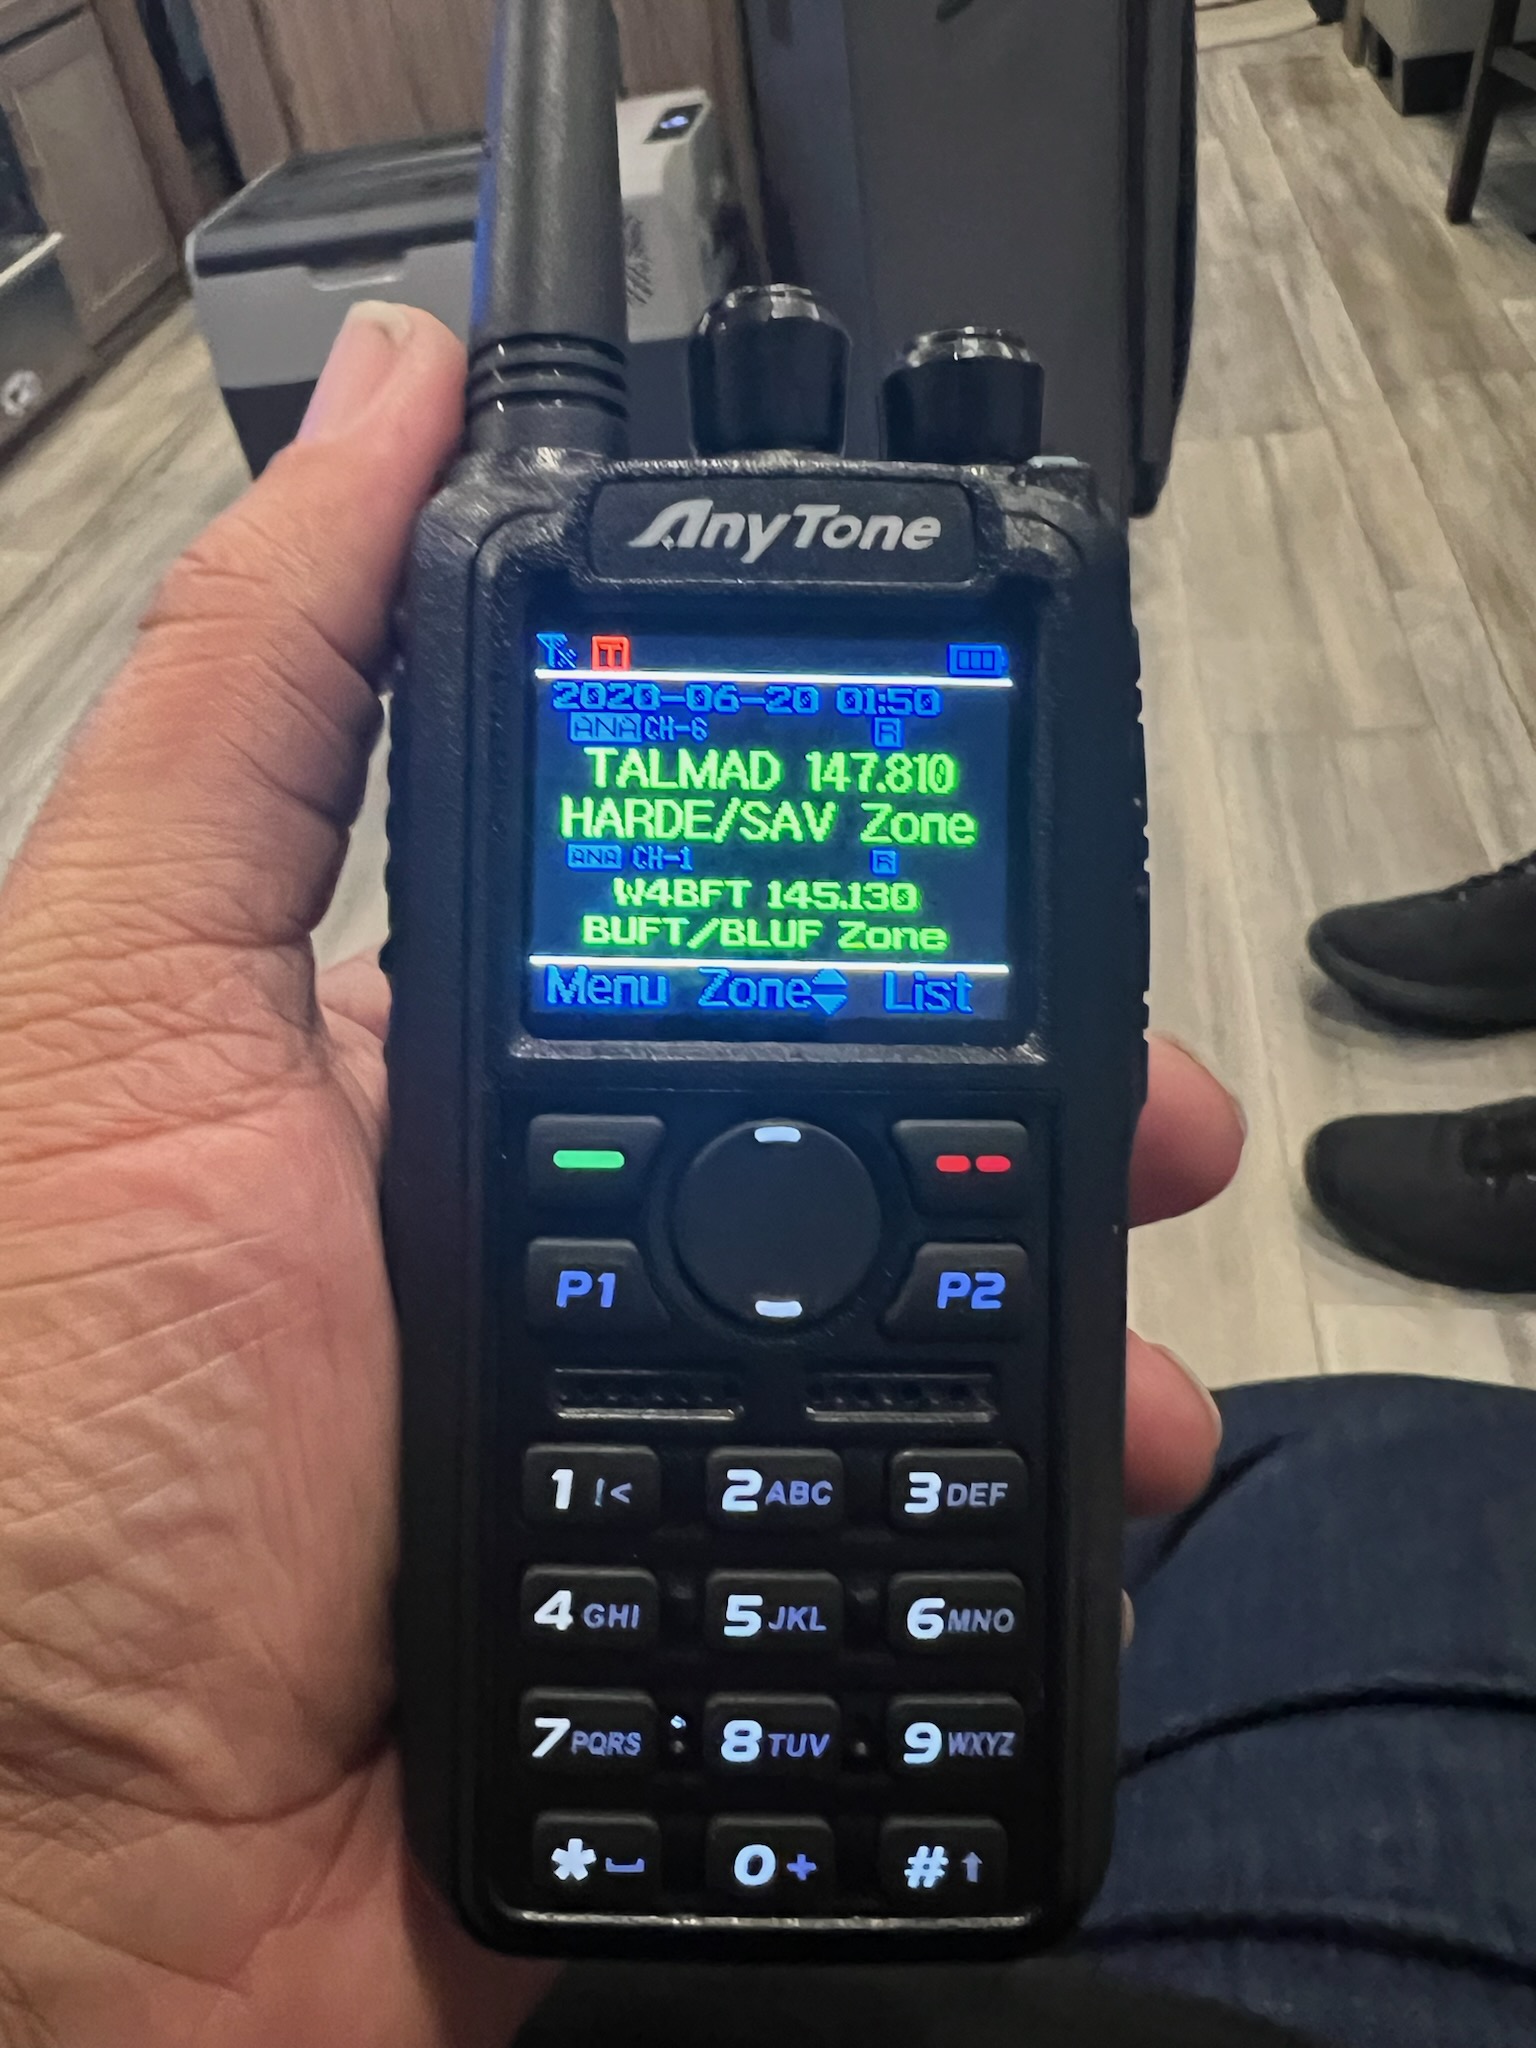
After immersing myself in YouTube tutorials and seeking guidance from experienced members of my local radio club, I made the decision to acquire a new, open-box Anytone D878UVII Plus, marking a significant advancement from my assortment of Baofeng radios. This remarkable radio not only expanded my capabilities on 2 meters and 70 centimeters but also granted me access to engaging in DMR QSOs.
I quickly realized that programming the digital modes required manipulating slightly more figurative knobs on the radio. I understood what a talk group was and established my first digital communication with SCHEART’s Echo talk group. I learned about the disconnect talk group, used to free up the current, dynamically selected talk group, and programmed that.
Armed with the fundamentals of DMR, I proceeded to incorporate several additional DMR talk groups into my radio. In South Carolina, our ARES network, known as SCHEART, is confined to the local region encompassing South Carolina, North Carolina, and Virginia. It offers various talk groups including local, state, PRN (regional), clear time slot, Chat 1, Chat 2, and others. Observing the calmness of SCHEART’s DMR network, I felt compelled to venture onto the expansive Brandmeister DMR network.
In my conversations at the club, I discovered the existence of hotspots that can serve as miniature repeaters. These DMR hotspots utilize the Internet to connect your radio to the same DMR servers as other hotspots and public repeaters worldwide. You have the option to either purchase these hotspots online or construct your own using a Raspberry Pi or other similar single-board computers.
After successfully building numerous Raspberry Pi servers for other projects, I felt ready to take on this build independently. I made a trade with a friend, exchanging an old antenna for a Raspberry Pi 2b. Then, I ordered a duplex ham radio transceiver hat from Amazon, allowing me to connect it to the Pi using its GPIO connector. I then proceeded to download and install PI-Star onto my newly constructed hotspot.

After setting up the Pistar software on the hotspot for DMR mode, connecting it to the internet, and programming my radio, I encountered a few challenges. However, I persevered and obtained a device ID password from Brandmeister, adding it to Pistar, allowing it to join Brandmeister’s network. I also programmed in Brandmeister’s parrot and disconnect talk group, and it was truly gratifying to receive a response from the parrot.
I was thrilled to add some additional talk groups, Worldwide and North America, to my setup. However, I encountered a hurdle as I couldn’t connect to these networks. After some troubleshooting, I discovered that these talk groups must have their talk group call type set up as “group call,” not “private” like the parrot. Once I got the Pistar node working well, I set my sights on making it mobile.
I bought a case from Harbor Freight, a pre-paid hotspot from Walmart, and repurposed an old charging bank to power the Raspberry Pi. Now, I have a fully functional portable DMR hotspot that can run continuously for 48 hours on a single charge. If you liked this post, please leave a comment and subscribe below.


